24 Creative DIY Button Art Ideas: Fun and Unique Crafts for All Ages
Button art is a creative and versatile form of craft that transforms ordinary buttons into stunning, visually captivating designs.
Whether you have a jar full of mismatched buttons or you’re looking to add a personalized touch to your home decor, button art provides endless possibilities.
With just a few simple materials like buttons, glue, and a canvas or sturdy surface, you can bring to life imaginative shapes, patterns, and scenes.
It’s a fun and accessible DIY project that both beginners and seasoned crafters can enjoy, offering a chance to experiment with colors, textures, and layouts.
Best of all, button art allows you to create meaningful, handmade pieces that can be used as decor, gifts, or even playful wall art.
In this article, we’ve gathered 24 DIY Button Art Ideas to help spark your creativity. From whimsical button butterflies to festive trees, these ideas will guide you step by step in transforming buttons into beautiful artwork.
Whether you’re crafting with kids, decorating your home, or looking for a thoughtful handmade gift, these projects will inspire you to explore the fun and rewarding world of button art.
Let’s dive into these unique and engaging DIY button crafts that are perfect for all ages!
DIY Button Art Projects

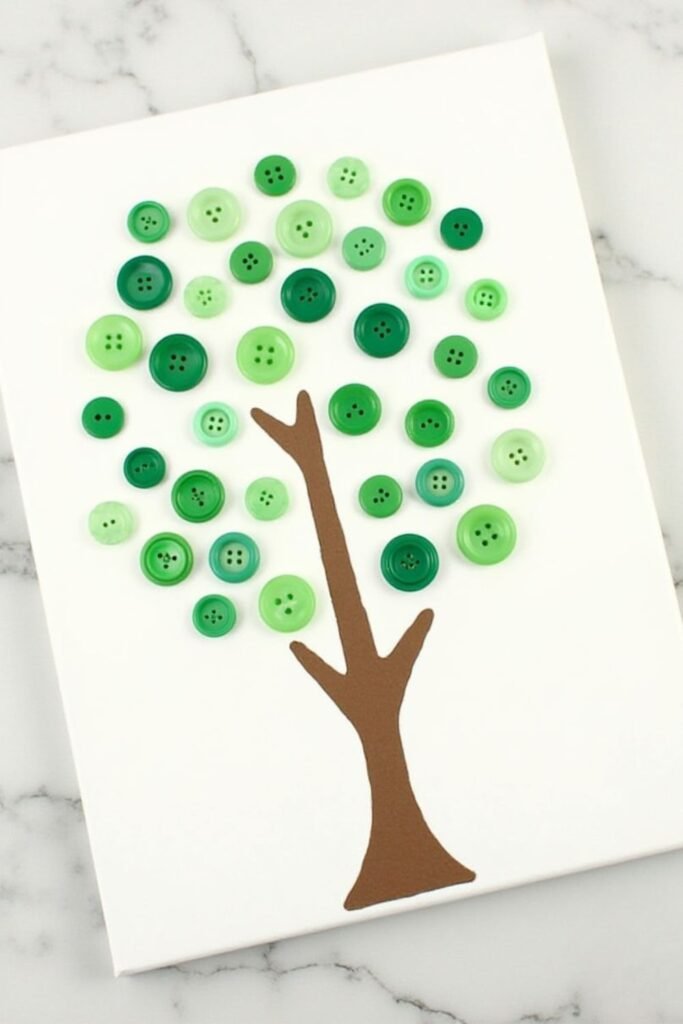
1. Tree Button Art
To create a beautiful tree button art piece, start by sketching a tree outline on canvas or cardboard. Select buttons in different shades of green for the leaves and brown for the trunk.
You can mix and match button sizes to add texture. Attach the buttons with glue to fill in the tree’s shape. Feel free to add additional details like a sun or clouds using colored markers or extra buttons.
This DIY project is perfect for adding a touch of nature to your home decor or as a fun craft to do with kids.
2. Heart Shape Button Collage
Start by outlining a heart shape on your chosen surface, like a canvas or sturdy paper. Select buttons in various shades of red, pink, and white to fill in the heart shape.
You can arrange the buttons randomly or layer them in an overlapping style to create dimension. Once satisfied with your layout, glue the buttons in place.
This button heart collage makes a thoughtful handmade gift for loved ones or a cute piece of home decor, especially for Valentine’s Day or anniversaries.

3. Button Flower Bouquet
Sketch the stems and leaves of a flower bouquet on your canvas, and select colorful buttons to represent the petals and centers of each flower.
You can mix button colors for a vibrant display or stick to one color scheme for a more unified look. After laying out your button flowers, glue them onto the canvas.
This button bouquet is a great craft project that adds a cheerful and lively touch to any room, and you can even personalize it by adding initials or a special message.

4. Bird Button Art
For this button art project, begin by sketching the outline of your favorite bird on your canvas. Select buttons that match the natural color of the bird, or get creative by using vibrant or pastel shades.
Fill in the outline with buttons of different sizes to add texture and depth. Secure the buttons with glue, and let the piece dry. This DIY project is perfect for animal lovers and makes a unique art piece for any room.

5. Button Rainbow
Draw a rainbow shape on your canvas or cardboard, dividing it into seven sections for each color. Gather buttons in red, orange, yellow, green, blue, indigo, and violet to create the rainbow.
Arrange the buttons by color in their respective sections, and glue them in place. You can use different sizes to make the design more dynamic.
This button rainbow is a bright and cheerful project, perfect for children’s rooms or playrooms, adding a splash of color to any space.

6. Button Monogram
Start by sketching the outline of a letter or initials onto your surface. Choose buttons in your desired color scheme, such as bright, contrasting colors or soft, pastel tones, to fill in the letter.
Arrange the buttons within the outline to create a neat and cohesive design. You can use buttons of different sizes for a textured look.
Once you’re happy with the arrangement, glue them in place. This button monogram is a great way to personalize home decor or give as a handmade gift.

7. Button Butterfly
Create a beautiful butterfly by sketching a simple outline on your canvas. Choose buttons in bright colors like blues, yellows, and purples for the wings.
Use smaller buttons for the butterfly’s body and larger buttons for the wings to give the art more dimension. You can experiment with button sizes and shapes to create a more detailed or abstract look.
After arranging the buttons, glue them in place. This whimsical button butterfly craft is perfect for decorating a child’s room or as a fun project for kids.

8. Abstract Button Mosaic
For an abstract button art piece, there’s no need for a specific design just grab a variety of buttons in different colors, shapes, and sizes.
Start by randomly arranging them on your surface, filling in spaces with different hues and textures. You can create a sense of flow by grouping similar colors together or keeping the layout completely random.
Glue the buttons once you’re satisfied with the placement. This button mosaic is a great way to use up leftover buttons and create a vibrant, one-of-a-kind artwork.

9. Button Balloon Art
Create a fun, playful button balloon art piece by sketching a few strings on your canvas, which will act as balloon strings.
Then, use colorful buttons to represent the balloons at the top of each string. You can use buttons in various sizes and colors to add a lively, 3D effect to the balloons.
Once you have your design, glue the buttons in place. This project is perfect for kids’ rooms or as a cheerful birthday party decoration.
10. Button Christmas Tree
For this festive button craft, sketch a simple Christmas tree shape on your canvas. Select green buttons to fill in the tree’s shape and use red or gold buttons for ornaments.
Start by gluing the green buttons to form the tree, adding layers and different sizes to create a fuller look. Then, add the decorative buttons as ornaments, placing them strategically across the tree.
This Christmas tree button art is a wonderful holiday decoration that can be displayed year after year.

11. Button Ocean Waves
Draw the shape of ocean waves on your canvas, and select buttons in different shades of blue and white.
Arrange the buttons to fill in the wave shapes, layering them to mimic the natural flow and movement of the sea. Mixing darker and lighter blue buttons adds depth, while white buttons can represent the foam of the waves.
This calming ocean wave button art is perfect for beach lovers and can be a soothing addition to coastal-themed home decor.

12. Button Owl
To make a cute button owl, sketch the shape of an owl on your surface. Use large buttons for the owl’s eyes, and smaller buttons in earthy tones like browns, grays, and whites for the body and wings.
You can mix button sizes to add texture and give the owl a more detailed appearance. Glue the buttons in place, and add extra details like branches or leaves around the owl.
This button owl art makes for a whimsical, nature-inspired decor piece.

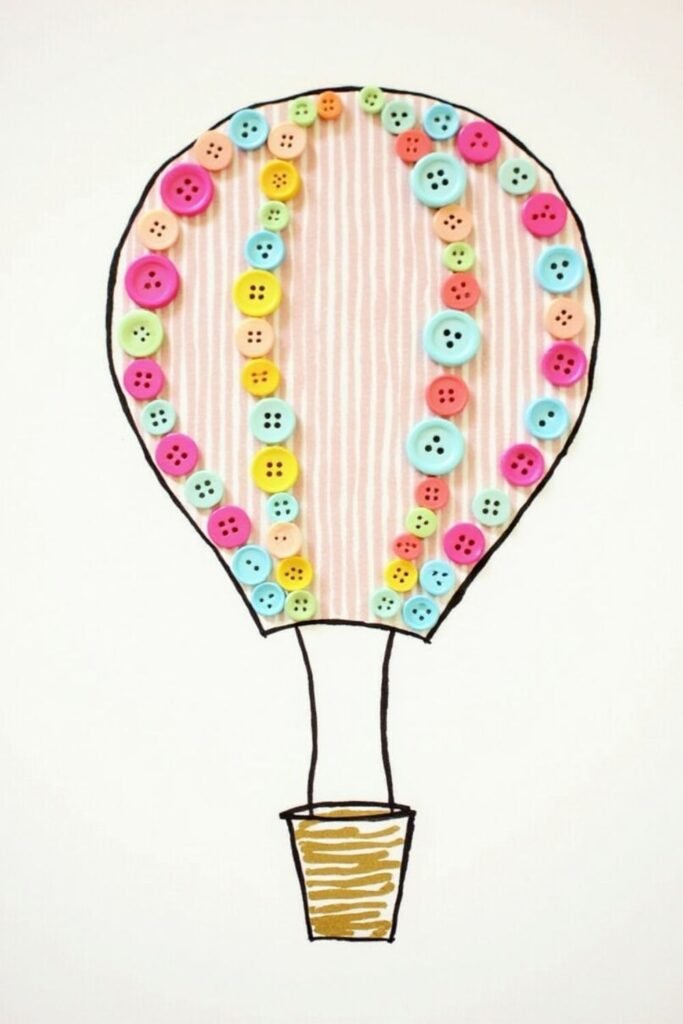
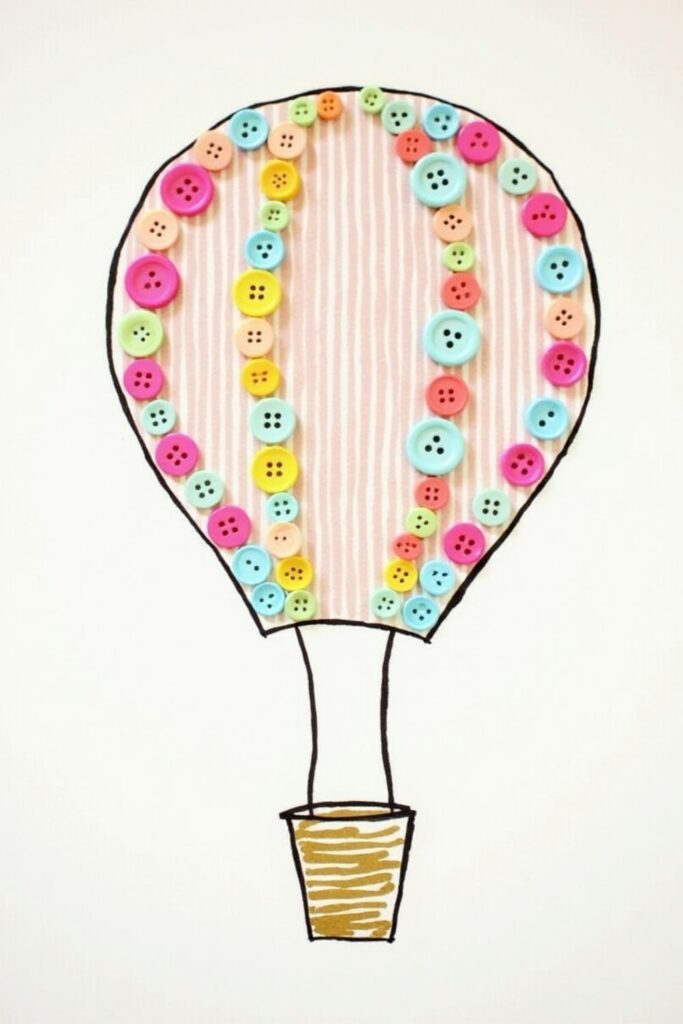
13. Button Hot Air Balloon
Design a hot air balloon button art piece by sketching the outline of a balloon and basket on your surface.
Use buttons in various bright colors to fill in the balloon’s shape, creating patterns or stripes to mimic a real balloon. You can use smaller buttons for the basket.
Once arranged, glue the buttons in place, and you can add details like clouds or birds around the balloon. This craft is perfect for travel-themed decor or kids’ rooms.
14. Button Flower Garden
To create a button flower garden, start by sketching the stems and leaves of several flowers on your canvas. Select colorful buttons to represent the flower petals and centers.
Arrange the buttons to form the flowers, mixing different colors and sizes to create a lively and vibrant scene. Glue the buttons once you’re happy with the arrangement.
This project adds a cheerful touch to any space and can be customized by adding butterflies, bees, or other details.

15. Button Fish
Sketch an underwater scene with fish swimming in the ocean on your canvas. Use blue and green buttons to fill in the water, while selecting bright, colorful buttons for the fish.
You can mix and match button sizes to create different types of fish and other sea creatures. Glue the buttons in place, and feel free to add extra details like seaweed, bubbles, or coral.
This button fish art is great for aquatic-themed decor or as a fun craft for kids.

16. Button Starry Night
Recreate a starry night sky using dark blue or black buttons for the sky and white or yellow buttons to represent stars.
Draw the outline of a moon or stars on your canvas and use the buttons to fill in the shapes. Arrange the buttons in different sizes to create depth, and glue them in place.
This button art piece is simple yet elegant and is ideal for a bedroom or living room with a nighttime or celestial theme.

17. Button Tree of Life
Sketch the outline of a tree with strong roots and branches on your canvas. Use buttons in vibrant colors to represent the leaves, choosing a variety of hues to create a colorful, dynamic piece.
You can also use brown buttons for the trunk and roots. Arrange the buttons to form a flowing, natural tree shape, then glue them down.
The button tree of life symbolizes growth and family, making it a meaningful piece for your home decor.

18. Button Bird on a Wire
Start by drawing horizontal lines across your canvas to represent wires, then draw small bird shapes sitting on the lines.
Use buttons to fill in the bird shapes, selecting a variety of button sizes and colors for each bird. Once you’ve arranged the buttons to your liking, glue them down.
This minimalist button art piece is perfect for modern decor and adds a playful yet simple touch to any space.

19. Button Umbrella Art
Sketch an umbrella outline on your surface and use colorful buttons to fill in the umbrella canopy. You can choose a specific color theme or mix colors for a fun, eclectic look.
Add small blue buttons as raindrops falling from the umbrella. Once you’ve arranged the buttons, glue them in place.
This rainy day button art project is a cheerful and unique craft that can brighten up any room, especially during spring.

20. Button House
Draw a simple house shape on your canvas and use buttons to create the roof, windows, and door.
You can mix and match button sizes to add depth and texture, using different colors for each part of the house. Once your design is complete, glue the buttons in place.
This button house craft is great for kids’ rooms or as a fun housewarming gift, and you can personalize it with a family name or address.

21. Button Sunflower
Sketch the outline of a sunflower on your canvas, with large, bold petals and a round center. Use yellow buttons for the petals and brown buttons for the
center. Arrange the buttons carefully to fill in the shape, layering them slightly to create a more textured look. Once satisfied with the arrangement, glue the buttons down.
This button sunflower adds a cheerful, sunny vibe to any space and works well for summer decor.

22. Button Rocket Ship
Start by drawing a rocket ship on your surface, including a simple body, wings, and flames. Select colorful buttons to fill in the rocket’s body, using red, yellow, or orange buttons for the flames.
Once you have arranged the buttons, glue them in place. You can also add small buttons as stars or planets around the rocket.
This button art project is perfect for space enthusiasts and is a fun addition to a child’s bedroom or playroom.

23. Button Bunny
Draw the outline of a bunny on your canvas, focusing on the ears and body shape. Use soft, pastel-colored buttons to fill in the bunny’s body and smaller buttons for details like the nose and eyes.
Arrange the buttons to create a smooth, cohesive design, and then glue them in place. This button bunny craft is perfect for spring or Easter decor and adds a cute, whimsical touch to any room.

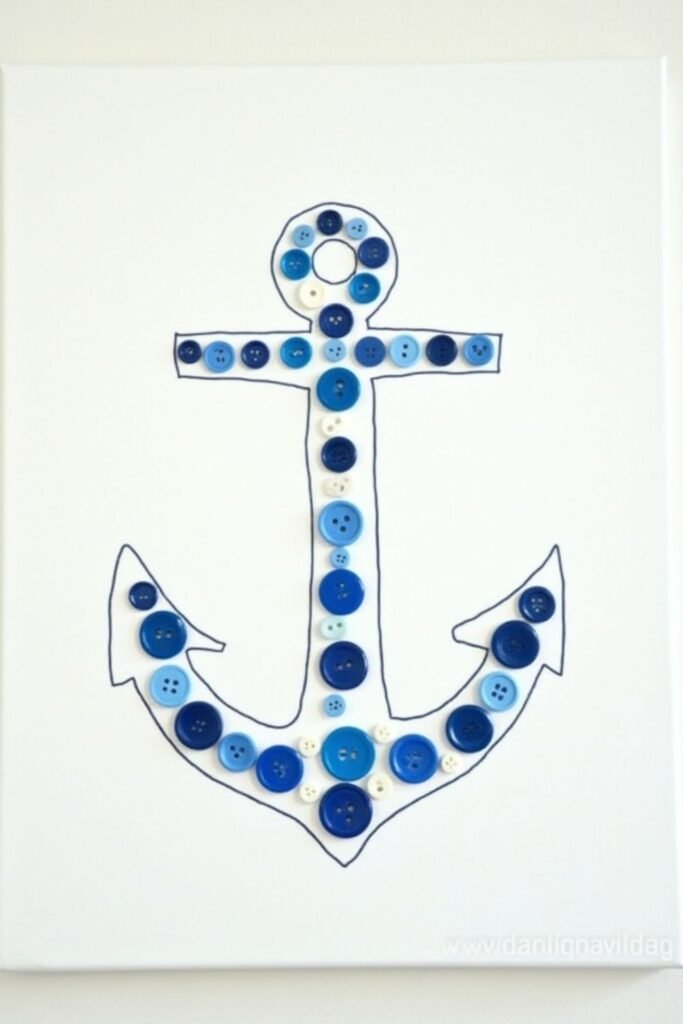
24. Button Anchor
Sketch the outline of an anchor on your canvas, and use blue and white buttons to fill in the shape.
Choose different button sizes to add texture and dimension to the anchor, and arrange them neatly within the outline. Glue the buttons down once you’re happy with the placement.
This nautical-themed button anchor is ideal for coastal or beach house decor and can be customized with other sea-inspired elements like shells or starfish.

Meet Danielle, the creative mind behind diyercraft.com, a space where she shares her love for all things DIY. As a busy mom and wife, Danielle juggles family life while finding time to create unique and budget-friendly projects that anyone can try at home. When she’s not crafting or writing, she enjoys spending time with her family, exploring the outdoors, and finding new inspiration for her next DIY adventure!

